How To Draw Cute Anime Girl? Here are the steps

Anime girl drawings

Anime drawings are cartoon drawings. The characters are usually “cute” by default. By rearranging the proportions and positioning the facial features, you can make a character look cuter.

Some tips for drawing anime girl drawings are given below.

Start by drawing the head. Drawings with bigger heads and foreheads with smaller chins make the character cuter. Next step is to draw the eyes. For a cuter look, place the eyes even lower down than normal. 

Draw the nose between the middle of the face and the bottom of the chin. Draw the ears on the halfway point between the top of the eyes and the chin.

Next step is to draw a mouth. Drawing small mouths makes a cuter look. Draw mouth between the nose and the chin. Give some blush to the character to make a drawing look cuter.

Give some puffy look to the hair and make the character look cuter. Finally, do some coloring and make the character look cuter and beautiful.

Anime Hands: Drawing Tips And Instructions You Should Know

Anime hands

Anime drawing is a style of cartoon art that originates from Japan. The key factors which define the style mostly lie in the character’s facial features structure.

Some tips for drawing anime hands are given below:

Anime hand drawing starts with the palm. The hand at this stage looks like a simple trapezoid. The next step is to draw four fingers. Draw the middle finger as long as possible. Then index and ring fingers a little shorter. The little finger is the shortest and thinnest.

Next step is to draw a thumb. Now the basic anime hand sketch is complete. Now, using clear and dark lines, draw the whole hand to make it clean.

Some tips for drawing anime hands from the sides:

Start with palm, draw palm as light geometric shapes. Next step is to draw fingers, drawing the little finger is more prone to bending than the index finger. Draw a thumb. Finally, using clear and dark lines give a final look to the drawing.

After going through these tips and instructions, try drawing in a variety of poses from different points of view.

How To Draw Anime Characters? Here are some tips

Draw anime characters

Anime is a popular drawing style that originated in Japan. Drawing anime characters is easy. There are some steps you can follow.

To draw anime characters, start drawing an anime head and face. Start drawing an oval and divide it into four sections. While drawing faces, make the oval narrower towards the bottom to draw the chin. Then draw a horizontal line through the center of the oval and a vertical line that intersects the horizontal line.

Draw the eyes underneath the horizontal lines. Eyes are drawn as big and exaggerated. Then sketch eyebrows just above the horizontal line. Draw a long downward curving line for the eyebrow.

Add a nose halfway between the horizontal line and the chin. Make the nose as the smallest feature of your character. Anime mouths are also drawn simple. Draw mouth halfway between nose and chin. 

Then add ears to the side of the head. If a character has long hair, you can skip drawing ears. If short hair is needed, draw an oval on each side of the head. 

Finally, draw hair on your anime character. Generally, anime hairs are with pointed ends and distinct sections. 

Now remove the horizontal and vertical lines and sketch from your anime body.

4 Tips For a Drawing Crying Anime

crying anime

Including emotions into your anime drawing is important. Since there are many emotions that could come to play, it is important to take a look at each one of them. Keeping that in mind, here are four ways to draw crying anime eyes.

Drawing tearing up anime eyes: Draw the eyes as squint and bottom eyelashes curved inwards. Draw the top eyelashes as less curved inwards with the eyebrows as a slight upside-down curve. Finally draw small teardrops towards the inner part of the eye.

Drawing anime eyes with tears: Draw tears covering entire bottom part of the eye. Draw the tears hanging at edges to look like they are going to spill out.

Drawing crying anime eyes: Draw eyes more squinted and eyebrows closer together. Draw tears from eyes running down the cheek.

Drawing bawling anime eyes: To get a bawling eye, draw eyebrows closer to each other. Draw some wrinkles and a few tears falling near the chin.

Drawing crying anime eyes and tears is not all that complicated as tears can run down in a variety of patterns. Follow these references and draw beautiful drawings.

Anime Hair Shading: Facts You need To Know

Anime hair shading

Anime hair generally comes with large clumps and are shaded without gradients. There are some facts which we need to know before we start with anime hair shading. Some are listed below:

  • Generic shadings are most commonly used. The characters are well lit from most sides. 
  • Try shading with a strong one directional light source.
  • If you are using generalized shading, make them dark enough so that it looks good.  
  • Be careful to note that when you shade too dark, it may look unnatural. When you shade too light, it may not be visible.
  • Drawing the highlights is an important area to note. When shading hair, you can use a white correction pen or white paint to draw the highlights.
  • Anime hairstyles can be simple, gradient, and realistic. The hair highlights can vary depending upon the medium and highlight type you choose as well.

Follow these simple tips and draw beautiful anime characters.

Useful Anime Poses For Your Drawings

Anime poses

Learning the basics of drawing anime poses will help you to easily convey your art message. Some of the best anime poses are listed below:

  • Running pose: The most widely used pose in anime. Study different degrees of running like sprinting, jogging for drawing better running poses.
  • The ballet pose: Pose drawn to show the flexibility of character. 
  • The punching pose: Pose drawn to express when a character is punching forward.
  • Throwing pose: This pose is used when the character is throwing something with extreme force.
  • The Gainax stance: Anime pose with arm crossed over chests.
  • The seed pose: Characters with pointing fingers pose.
  • Yamada hands: Anime characters with open palms.
  • The minagawa fade pose: Anime pose that adds drama, mystery, and depth to the scene.
  • The shaft angle pose: Characters tilt their head at a certain angle.
  • Sunrise stance: Anime pose showing someone is locked in a battle with another character.

There are many more variations that can be used to fit your drawing.

Anime Face Shadings: The Types You Should Know

Anime face shadings

Face shading is a common shading technique used in anime shading. It is faster and easy to do compared to realistic shading and there are many different types in this category as well.

Common anime face shadings in different lighting conditions are listed below: 

General lighting: The shading technique used when there is no one directional light source. 

Side/Top lit shading: The light source is from above and one side of the character. This effect makes one side of the face darker and another side bright.

Side lit shading: The light source is coming from one side of the face.

Bottom-lit shading: The light source is coming from the bottom of the face.

Top-lit shading: The light source is coming from the top of the face.

Back-lit shading: The light source is on the cheeks and sides of the neck. A small light source is also given to the tip of the nose.

Understanding the light source is important. Once you understand the same, you can master the art of shading.

What Makes Naruto So Special ?

Even though Naruto is not considered as the best anime series ever, it is one of the most popular creations out there.

The bond that Naruto has created with its viewers is something almost unattained by any other manga or anime series yet. What makes Naruto this special? Below are some factors.

Emotional connection: A few episodes into the series, we will start caring for Naruto like our own little brother or son. The series had done justice in expressing and elaborating the emotions of all its characters beautifully.

Awesome characters: All Naruto characters are created with well- developed stories to back their actions. It leaves very little space for plot loopholes and also helps us to make a bond with the character like someone we know.

Life lessons: Each character in Naruto teaches us a lesson with their life. Naruto showed determination and hard work pays off in the end. Might Guy and Rock Lee showed that in-born skills are not necessary to be the strongest ninjas.

It wouldn’t be an exaggeration to say that every character who had been in the series had established a bond with its viewer. So, naruto remains popular in our hearts.

Tips to Draw Anime Bento Box Food

It would be surprising to see any anime lover who is not absolutely mesmerized or blown away by anime food. These scenes would have even left you fantasizing about going to Japan just to eat it.

One of the most popular anime food trends is the lunch box or bento box foods. Drawing a bento box lunch is not as hard as you might think. Let’s see how it’s done.

First, draw a rectangular box from any perspective. Add compartments inside it to make it look like a bento box. Make sure that the lines are light enough to be erased off later as we add the foods in it.

Add the outlines of the food. Try to understand the basic shapes of Japanese food like onigiri, sushi, and tamagoyaki among others. They’re mostly combinations of polygons and circles. Don’t forget to add fresh fruits and veggies to your lunch box drawing.

Now add details to the food. Draw leaves of fresh fruits and leafy veggies like kale and celery, seeds of tomatoes and strawberries. Draw some bits of rice popping out of the rice cakes. Once you finish the linework you can color it accordingly. Viola! Your bento box food is ready.

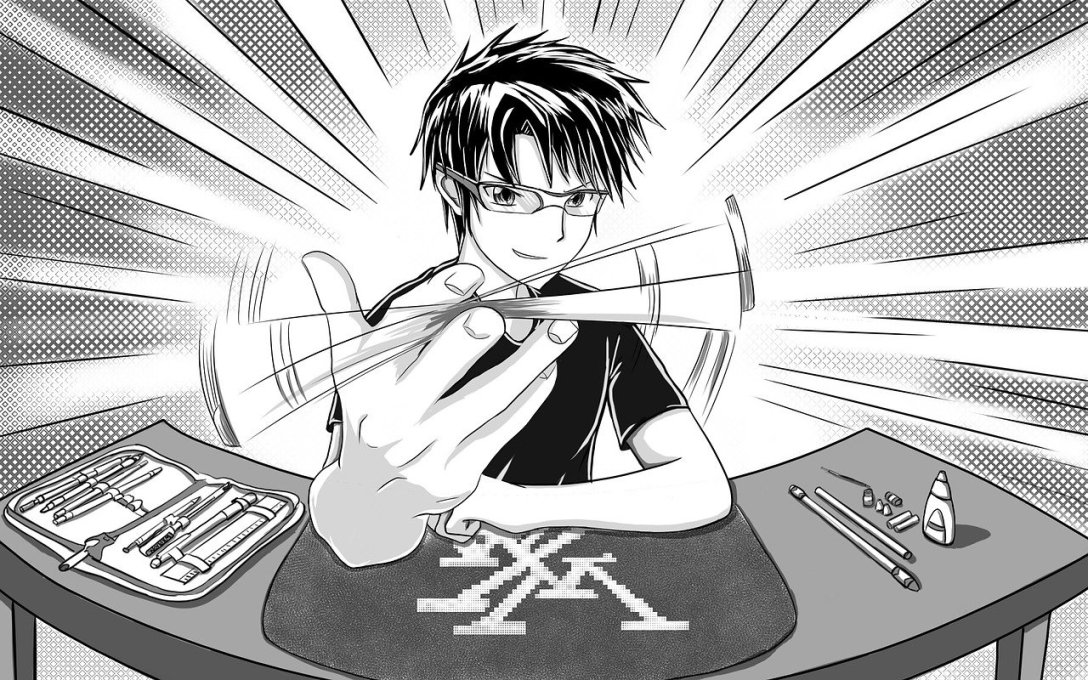
Essential Manga and Anime art supplies that you should have

learn anime drawing

Anime, like any other artwork, needs a few essential art supplies like pencils, pen, and paint brushes among others. Let’s explore some of them.

Paper Pencil for rough linework: Use H, HB, or B pencils, depending on the darkness you desire to have in your work.

Mechanical pencils for precision work: Use varying lead diameter to add depth to your lines.

Pen and ink or marker pens and ball pens: Marker pens are usually the cheaper amateur version of pen and ink. However, even professional artists use markers to give life to their artworks.

Paintbrushes: A lot of artists use brushes for their linework and coloring. A stable hand is mandatory if you dare to use brushes for drawing your outlines.

Inks: Try to use the best quality ink to make your art looks exceptional. You can use Indian ink, drawing ink, or industrial ink.

White ink: These are used to add details and highlights to your drawing. They can also be used to correct inking mistakes.

At the end of the day, all that matters is your desire to draw. Get a piece of paper and a pen and draw your heart out.