How To Draw Cute Anime Girl? Here are the steps

Anime girl drawings

Anime drawings are cartoon drawings. The characters are usually “cute” by default. By rearranging the proportions and positioning the facial features, you can make a character look cuter.

Some tips for drawing anime girl drawings are given below.

Start by drawing the head. Drawings with bigger heads and foreheads with smaller chins make the character cuter. Next step is to draw the eyes. For a cuter look, place the eyes even lower down than normal. 

Draw the nose between the middle of the face and the bottom of the chin. Draw the ears on the halfway point between the top of the eyes and the chin.

Next step is to draw a mouth. Drawing small mouths makes a cuter look. Draw mouth between the nose and the chin. Give some blush to the character to make a drawing look cuter.

Give some puffy look to the hair and make the character look cuter. Finally, do some coloring and make the character look cuter and beautiful.

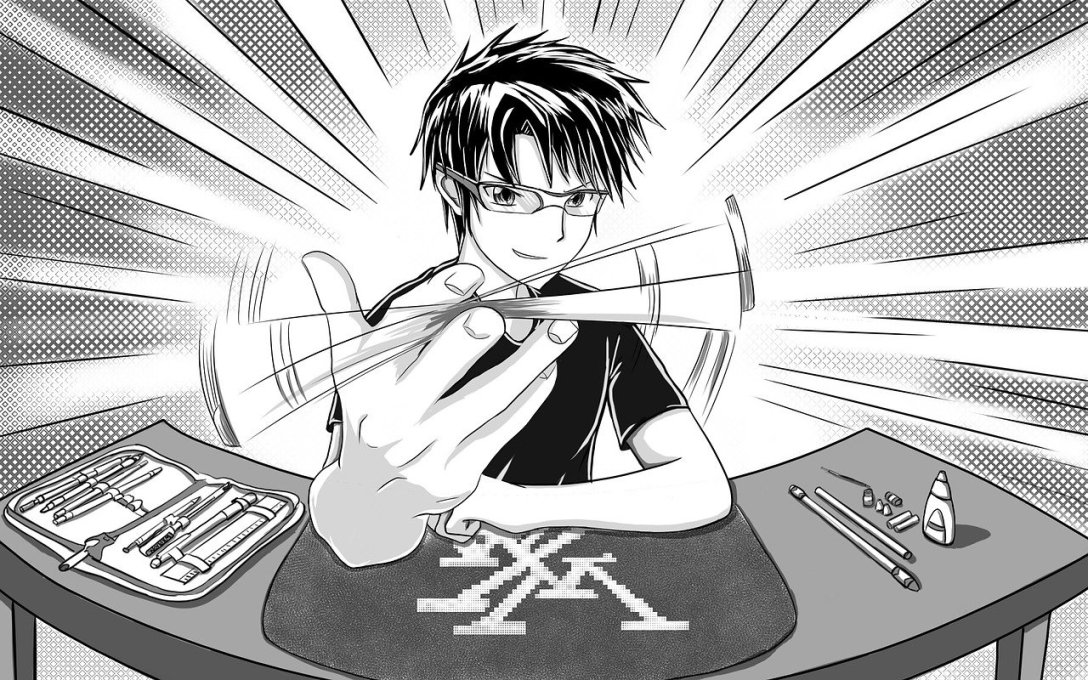
Anime Hands: Drawing Tips And Instructions You Should Know

Anime hands

Anime drawing is a style of cartoon art that originates from Japan. The key factors which define the style mostly lie in the character’s facial features structure.

Some tips for drawing anime hands are given below:

Anime hand drawing starts with the palm. The hand at this stage looks like a simple trapezoid. The next step is to draw four fingers. Draw the middle finger as long as possible. Then index and ring fingers a little shorter. The little finger is the shortest and thinnest.

Next step is to draw a thumb. Now the basic anime hand sketch is complete. Now, using clear and dark lines, draw the whole hand to make it clean.

Some tips for drawing anime hands from the sides:

Start with palm, draw palm as light geometric shapes. Next step is to draw fingers, drawing the little finger is more prone to bending than the index finger. Draw a thumb. Finally, using clear and dark lines give a final look to the drawing.

After going through these tips and instructions, try drawing in a variety of poses from different points of view.

How To Draw Anime Characters? Here are some tips

Draw anime characters

Anime is a popular drawing style that originated in Japan. Drawing anime characters is easy. There are some steps you can follow.

To draw anime characters, start drawing an anime head and face. Start drawing an oval and divide it into four sections. While drawing faces, make the oval narrower towards the bottom to draw the chin. Then draw a horizontal line through the center of the oval and a vertical line that intersects the horizontal line.

Draw the eyes underneath the horizontal lines. Eyes are drawn as big and exaggerated. Then sketch eyebrows just above the horizontal line. Draw a long downward curving line for the eyebrow.

Add a nose halfway between the horizontal line and the chin. Make the nose as the smallest feature of your character. Anime mouths are also drawn simple. Draw mouth halfway between nose and chin. 

Then add ears to the side of the head. If a character has long hair, you can skip drawing ears. If short hair is needed, draw an oval on each side of the head. 

Finally, draw hair on your anime character. Generally, anime hairs are with pointed ends and distinct sections. 

Now remove the horizontal and vertical lines and sketch from your anime body.

4 Tips For a Drawing Crying Anime

crying anime

Including emotions into your anime drawing is important. Since there are many emotions that could come to play, it is important to take a look at each one of them. Keeping that in mind, here are four ways to draw crying anime eyes.

Drawing tearing up anime eyes: Draw the eyes as squint and bottom eyelashes curved inwards. Draw the top eyelashes as less curved inwards with the eyebrows as a slight upside-down curve. Finally draw small teardrops towards the inner part of the eye.

Drawing anime eyes with tears: Draw tears covering entire bottom part of the eye. Draw the tears hanging at edges to look like they are going to spill out.

Drawing crying anime eyes: Draw eyes more squinted and eyebrows closer together. Draw tears from eyes running down the cheek.

Drawing bawling anime eyes: To get a bawling eye, draw eyebrows closer to each other. Draw some wrinkles and a few tears falling near the chin.

Drawing crying anime eyes and tears is not all that complicated as tears can run down in a variety of patterns. Follow these references and draw beautiful drawings.

Anime Face Shadings: The Types You Should Know

Anime face shadings

Face shading is a common shading technique used in anime shading. It is faster and easy to do compared to realistic shading and there are many different types in this category as well.

Common anime face shadings in different lighting conditions are listed below: 

General lighting: The shading technique used when there is no one directional light source. 

Side/Top lit shading: The light source is from above and one side of the character. This effect makes one side of the face darker and another side bright.

Side lit shading: The light source is coming from one side of the face.

Bottom-lit shading: The light source is coming from the bottom of the face.

Top-lit shading: The light source is coming from the top of the face.

Back-lit shading: The light source is on the cheeks and sides of the neck. A small light source is also given to the tip of the nose.

Understanding the light source is important. Once you understand the same, you can master the art of shading.

Tips to Draw Anime Bento Box Food

It would be surprising to see any anime lover who is not absolutely mesmerized or blown away by anime food. These scenes would have even left you fantasizing about going to Japan just to eat it.

One of the most popular anime food trends is the lunch box or bento box foods. Drawing a bento box lunch is not as hard as you might think. Let’s see how it’s done.

First, draw a rectangular box from any perspective. Add compartments inside it to make it look like a bento box. Make sure that the lines are light enough to be erased off later as we add the foods in it.

Add the outlines of the food. Try to understand the basic shapes of Japanese food like onigiri, sushi, and tamagoyaki among others. They’re mostly combinations of polygons and circles. Don’t forget to add fresh fruits and veggies to your lunch box drawing.

Now add details to the food. Draw leaves of fresh fruits and leafy veggies like kale and celery, seeds of tomatoes and strawberries. Draw some bits of rice popping out of the rice cakes. Once you finish the linework you can color it accordingly. Viola! Your bento box food is ready.

Drawing Tips: Drawing Anime Cat

Drawing anime cat

Anime animals tend to be drawn with bigger heads. And there is a trick to draw Anime Cats as well. Cat drawing can be made easy by drawing a vertical line through the middle of the cat’s body. Draw the head of the cat in the shape of an oval. 

Some simple techniques for drawing anime cats are following:

  • Draw the legs, tail, and ears: Draw the ears in the shape of a triangle. Draw legs as small and short while also drawing the tail. 
  • Draw the cat’s face: Draw bigger eyes, smaller nose, and mouth.
  • Draw the major fur clumps: Draw the clumps on the head, neck, tails, and chest. Draw the clumps pointed in different directions that vary in size to make the fur look natural.
  • Draw the whiskers and paws: Draw whiskers around the mouth and above the eyes. 
  • Draw some small fur clumps: To make a cat look more fluffy, add small furs throughout the body. Finally, apply color and add shading.

Follow these simple techniques and draw a cute anime cat.

Drawing Anime Characters: What Beginners Should Know

anime character drawing beginners

If you are an otaku, you would have tried to recreate your favorite manga characters. Drawing a brand new anime character is not as easy as copying an existing one.

Let’s Discuss some basics of drawing anime characters.

Use construction lines and guides: Be it body or the face of the character, guides help you to set its form and stance.

Draw from large to small: Use rough sketches to plan the whole structure first, rather than starting from the face and building the rest of the body eventually.

Work on Different Elements: Work on different elements of the drawing simultaneously so that mistakes can be noticed easily.

Draw hidden parts too: Some elements of the drawing will be hidden in the final artwork. Do not forget to draw them in your basic sketch. This step helps to maintain the proportion of each element.

Observe: Watch a lot of anime movies and series, read tons of manga, and study the characters and their styles. Observe their face structure, anatomy, clothing, and stance to get inspiration for drawing your anime characters.

Do not hold back your urge to draw anymore. Grab your art supplies and create your character now.

Drawing Freckles On Anime Faces: Here are some tips

Anime faces

Anime faces are drawn with large freckles compared to real-life persons. Freckles are drawn for anime characters with mild or shy personalities to give a unique look.

Different types of freckle drawings includes:

  • Drawing freckles on the cheeks: Draw a patch of freckles under each eye. Give freckles a more balanced look by ensuring they do not outweigh each other. To give a natural look draw, slightly randomized as some larger and some smaller. 
  • Drawing freckles on the nose: Try to draw freckles around the bridge of the nose area. Randomize to give a more natural look.
  • Drawing freckles around the face: Freckles around the face can be drawn by combining the above methods. Draw freckles as a strip across the face at nose and cheek areas. Draw freckles denser at the middle and less dense around the sides. Randomize to give a more natural look.

Try these simple techniques for drawing freckles on anime characters.

How To Draw Male Anime Eyes: 5 Simple Steps

Male anime

Anime eyes are drawn big and exaggerated to show expressions and emotions. There are some easy steps with which one can draw the Male Anime Eyes.

First, sketch the upper and lower lash lines. Male anime eyes are usually drawn narrower. Draw the curves on upper and lower lash lines as slight for not getting a round shape.

Secondly, draw an oval between the lash lines and this will be iris. 

Next, draw a small circle near the top of the oval. The circle can be drawn on any side like left or right. This circle will later look like the light is reflecting off the eye.

Fourth, make a smaller circle near the bottom of the oval on the opposite side. This circle will also look like reflected light while giving shading.

Fifth, draw a smaller oval inside the first one and fill it in to make the pupil. Shade it with a pencil and make it look darker. Finally, shade your eyes.